One part easy. Three parts hard.
Posted: January 30, 2012 Filed under: Uncategorized | Tags: avocado, caramel cake, mexican casserole, pink dishes, spring tablescape, sunday supper Leave a commentI spent most of Sunday in the kitchen, whizzing through dinner and laboring over dessert.
Good thing I started early and had plenty of time to spare. And good thing I had two extra pairs of hands. Without Kate’s help cleaning and Mr. Mom’s help wrangling homemade caramel, I might have thrown in the dishtowel.
The recipes were straight off the internet. And isn’t that the very best part of modern-day cooking — access to millions of wonderful dishes right at your fingertips? Thanks to Tasty Kitchen and Add a Pinch (via Pinterest), I found an easy-but-savory Mexican entrée and a luscious caramel cake in a quick menu search.
Sunday Supper Menu
Enchilada Casserole
Avocado Salad with Lemon Vinaigrette
Southern Caramel Cake
Since the entrée and the dessert are straight off other websites, I won’t bother retyping them here. Simply click here for the Enchilada Casserole and here for the Southern Caramel Cake.
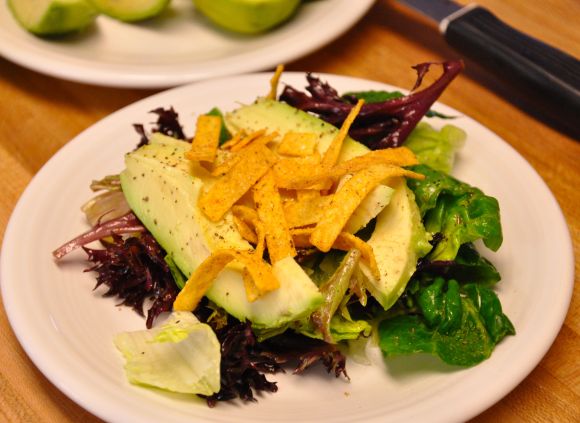
The salad was my own concoction. I tossed a green salad with a bit of lemon juice and olive oil, and topped it with sliced avocados and tortilla strips. It was a perfect light-touch side dish for a hearty casserole.
My tablescape this week was soft and pretty, with a touch of longed-for spring. It was sunny and almost 50 degrees in our part of the world today, so I dug deep in my dish pantry to bring a burst of color to my table. See what you think:
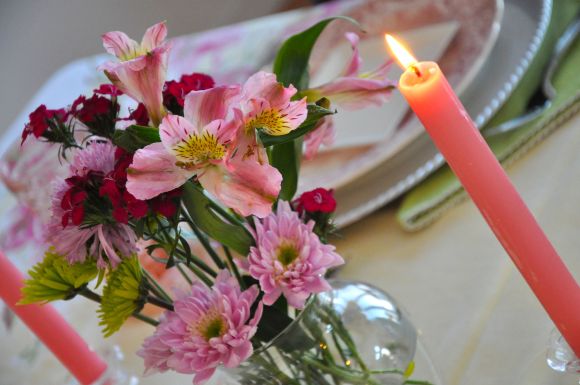 It’s amazing how a little sunshine and a pretty table can brighten a winter’s meal.
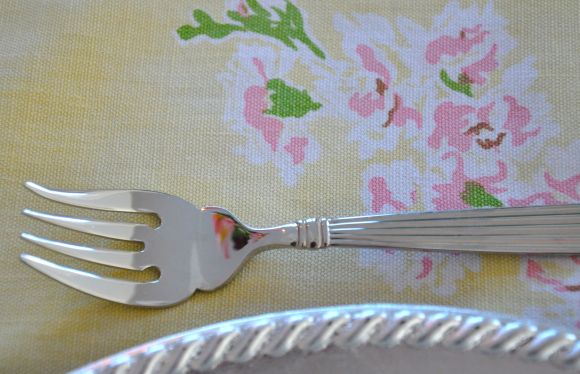
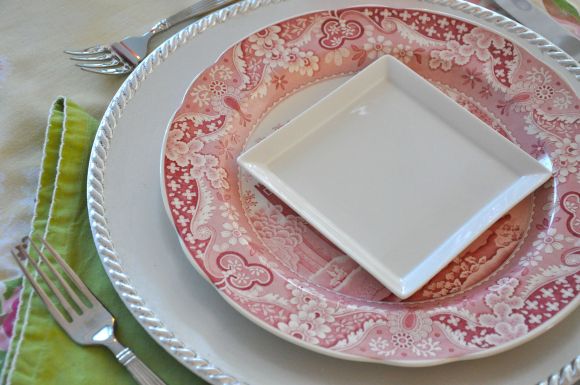 My favorite part of this table is the vintage tablecloth. I’ve collected them for years and — though most of mine are faded and almost threadbare in spots — I continue to use them frequently. The one I chose for this week is sweetly patterned in shades of yellow, pink and green.
 My Southern Caramel Cake was the perfect accompaniment for such a sweet table. I had never made caramel before, nor had I ever used caramel as icing. Let’s just say both take patience.
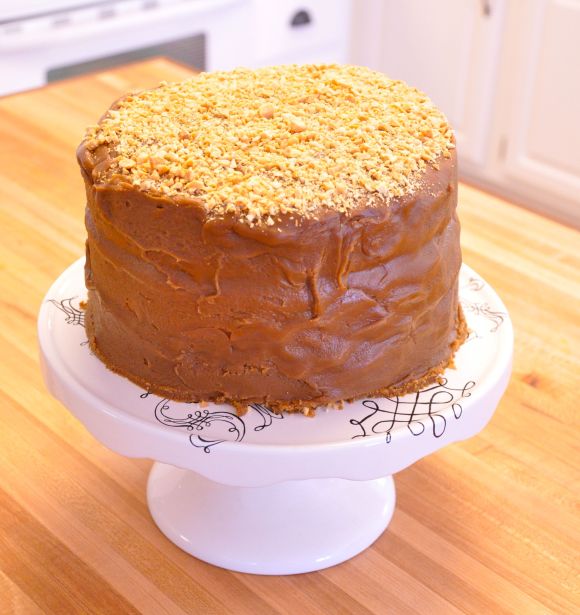 Making caramel — getting the butter and milk and sugar mixture to the softball stage — takes more than a half hour of constant stirring and watching the pot. Then cooling the caramel by beating it to a stiff texture takes nearly another half hour. Finally, spreading the stiff caramel — which molds better than it spreads — required my last vestiges of patience. In all, I probably had three hours invested in this cake, and it wasn’t even all that beautiful as cakes go.
But as cakes taste . . . this one is great. The cake is tender and moist and the icing is sweet and caramely.
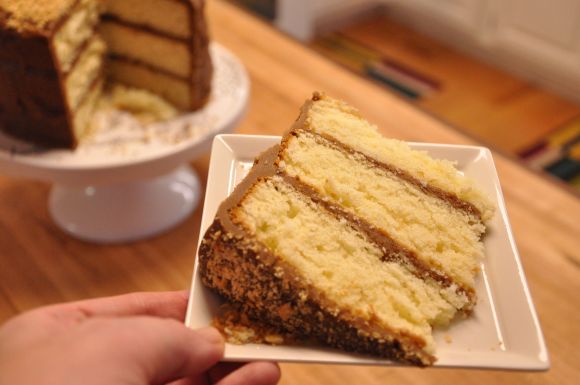 If I had it to do over again, I would have cut two of my cakes in half-layers and frozen the third cake for another use on another day. I think four thin layers alternated with the sweet caramel icing would give the cake a little more punch than three thick layers. And I would have put layers of chopped peanuts on each icing layer, not just on top, to give it even more texture and interest.
By the way, my salad was wonderful. Take a look:
 And the casserole was tasty and filling.
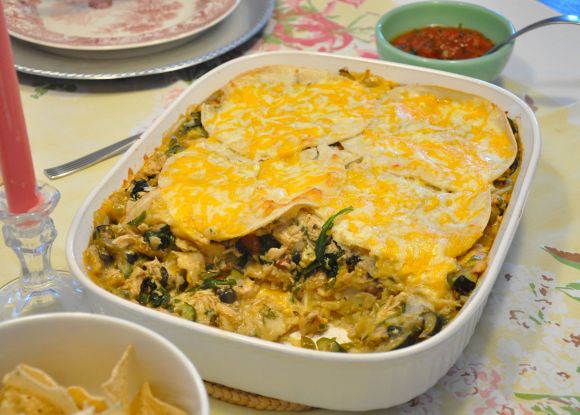 Chock full of veggies and light on cheese and sauce, it was a healthy alternative to heavy enchiladas.
Hope you had a lovely Sunday Supper, dear readers, that was all parts easy and tasty.
Bake twice, eat once.
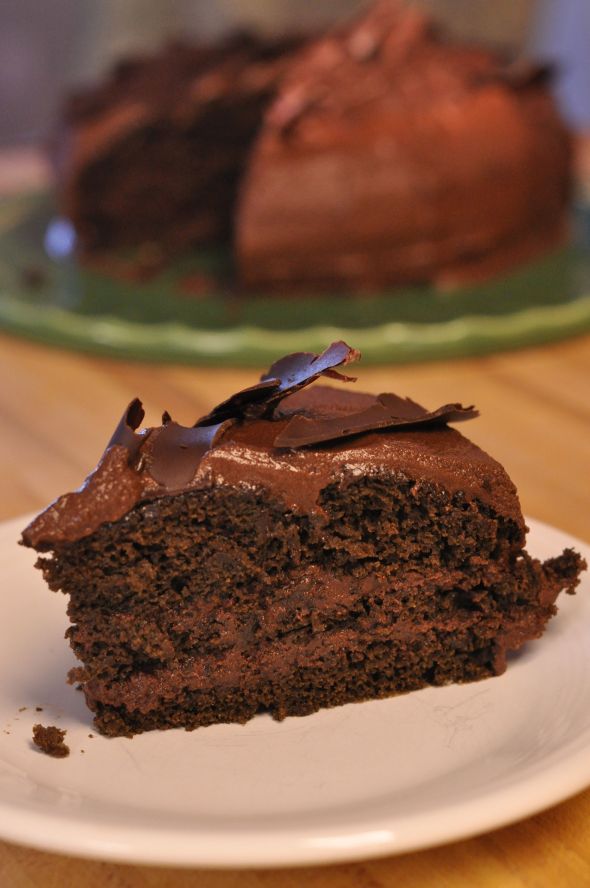
Posted: January 2, 2012 Filed under: Uncategorized | Tags: cake leveler, cake slicer, chocolate cake, chocolate mousse, fancy cake, helpful cake baking tips, luscious, making chocolate shards, showstopper, special ocassion 1 CommentI spent much of the last day of my holiday break baking a cake that was so good, I made it twice.
Actually, my first try was a FAIL. And determined, to triumph, I baked it a second time. Turns out, it was so good, it was worth baking twice. It’s not only a showstopper on your table . . .
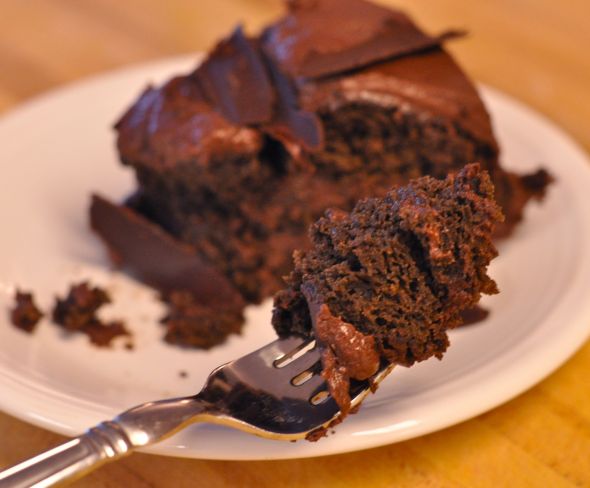
It’s a miracle in your mouth.
All you need is a little patience and you can make this cake in only one try — unlike your fearless blogger friend. The cake is a tad finicky, I’ll admit. But now that I’ve conquered it, I’ll arm you with the tips you need to succeed. Plus, I won’t omit an item from the ingredient list (like the gosh darn cookbook did), causing you all kinds of havoc.
So there’s my pledge. Now tie on your apron and get to baking! Really. Somebody in your life needs this cake in 2012.
Luscious Chocolate Mousse Layer Cake
(from Fine Cooking’s Sweet Cakes)
For the chocolate cake:
Vegetable oil or pan spray for the pan
Flour for the pans
6 oz. (1-1/2 cups) cake flour
1 oz. (6 TBLS) unsweetened natural cocoa powder
2 tsp baking powder
1/4 tsp baking soda
1/4 tsp table salt
1 cup granulated sugar
1/4 cup vegetable oil
1 large egg
2 tsp pure vanilla extract
1 cup water
HELLO! That cup of water? It’s very important. My cookbook omitted it and I managed to skip over it when reading the directions. So when I went back through the ingredient list to make sure I had added everything (which I always do), I didn’t catch the water since it wasn’t listed. Come on cookbook editors! These kinds of errors drive home cooks batty. The omission of that simple cup of water turned the cake into a brick. A brick that hit my trash can with a thud. Fortunately, I’m persistent, caught my mistake through careful reading of the recipe, and tried again immediately.
For the mousse:
2 cups heavy cream
3/4 oz (1/4 cup) unsweetened natural cocoa powder
13 oz bittersweet chocolate, chopped
4 oz (1/2 cup) unsalted butter, at room temperature and cut into small pieces
2 tsp pure vanilla extract or 1 to 2 TBLS brandy or Cointreau (I used Cointreau and loved it!)
Pinch table salt
7 large egg whites, at room temperature
1/2 cup granulated sugar
PS: This recipe makes a TON of mousse. I suggest cutting it in half. I did and still had plenty. If halfing, use only 3 egg whites.
Make the cake:
Position a rack in the center of the oven and heat the oven to 325°F. Lightly grease a 9×2-inch round cake pan, line the bottom with parchment, and flour the sides (but not the bottom). PS: I never use parchment paper. I simply use Pam baking spray and coat well with flour, and my cakes always release perfectly.
Sift the cake flour, cocoa powder, baking powder, baking soda, and salt into a large bowl. Add the sugar and whisk until well blended. Measure the oil into a 1-cup liquid measure, add the egg and vanilla, and mix with a fork to blend. Add the egg-oil mixture to the dry ingredients and then add the water. Whisk until the dry ingredients are just moist, about 1 minute, scraping down the sides of the bowl. Pour the batter into the prepared pan.
Bake until a pick inserted into the center of the cake comes out clean, 32 to 34 minutes. Let cool on a rack for 20 minutes. Lightly grease a wire rack, invert the cake onto it, lift off the pan, peel off the paper, and let the cake cool completely. PS: My cake took a good 10 minutes longer to bake. I suggest setting your timer for 40 minutes, then checking it with a toothpick. Don’t be afraid to leave it in longer if your pick doesn’t come out clean. You’ll be slicing this cake into three layers and you need it be fully baked.
And this part is really important: Don’t be in a hurry. Bake the cake, and don’t rush the cooling. Only when your cake is out of the pan and cooled to room temperature should you begin to make the mousse. Go ahead and set up your mise en place for the mousse if you’re impatient like me. But do not begin making the mousse until your cake is completely cooked and sliced. And for heaven’s sake, don’t be like me and try to cook barbeque ribs in between cake steps. I got distracted and it made the cake so much more difficult. The mousse is finicky and needs your full attention and patience once you begin it. We now return you to your regular programming.
Make the mousse:
Set up an ice bath by partially filling a large bowl with cold water and some ice.
Combine the cream and cocoa in a large saucepan set over medium heat. Bring to a full boil, whisking occasionally to blend in the cocoa. Slide the pan off the heat and immediately add the chopped chocolate and the butter; whisk slowly until melted and smooth.
Scrape the chocolate mixture into a large bowl. Add the vanilla and salt. Set over the ice bath and stir constantly with a rubber spatula, scraping the sides very frequently, until the chocolate cools to room temperature (don’t stop stirring or lumps will form) Remove the bowl from the ice bath. PS: Don’t leave your mousse on the ice bath too long like I did. If need be, stick your finger in it several times to test. As soon as it’s no longer warm, take it off the ice bath. I asked my husband to handle this step for me because I was busy futzing with the ribs, and he left it on the ice bath until it was as stiff as refrigerated butter. The good news is you can put it in a double boiler for about a minute, while whisking constantly, and it will quickly return to the proper consistency. But it’s so much easier if you just pay attention and do it right the first time.
Put the whites in a large clean bowl. Whip with an electric mixer on medium-low speed until very foamy. Increase the speed to medium high and beat until the whites form very loose, soft peaks. Slowly add the sugar. Continue beating until the whites are shiny and form floppy peaks.
Working quickly, scoop about a third of the whites into the cooled chocolate mixture and fold together with a rubber spatula or a whisk until blended. Scrape the remaining whites into the chocolate and fold together gently but thoroughly.
To assemble the cake:
To cut the cake into layers, it helps if the cake is slightly chilled. Cut into three equal layers with a large, serrated knife. Set aside without separating the layers. PS: This takes a steady hand and patience. Or a cake slicer/leveler. I don’t have patience, but I do have a leveler and a husband who’s a good sport, and he always does this step for me. I promise it gets easier with practice. And if you tear the cake, don’t worry. Just piece it back together. You’re going to cover it with mousse and no one will know the difference.
Gently move the top layer of the cake to the center of a flat cake plate. It can be helpful to use a large spatula to help you. Handle the cake carefully and, if it breaks, just piece it together. Scoop about one-third of the mousse onto the cake layer and gently spread to cover. Gently move the next cake layer (the center) on top of the mousse and press gently to level it, if necessary. Scoop half of the remaining mousse over that layer and spread gently. Gently move the final cake layer and set it on top of the mousse. Press gently to level it. Spread on the remaining mousse and smooth the top and sides with extra mousse if necessary.
Decorate with chocolate shards. If you’ve never made shards, here’s a two-minute video that explains how easy it is.
I realize how long this recipe is. It really is worth it, though, and once you’ve made this cake the first time, you’ll realize how manageable it is with a few helpful hints. Just read the recipe carefully, muster your patience to take it slow and easy, and prepare to enjoy a truly luscious chocolate cake.

