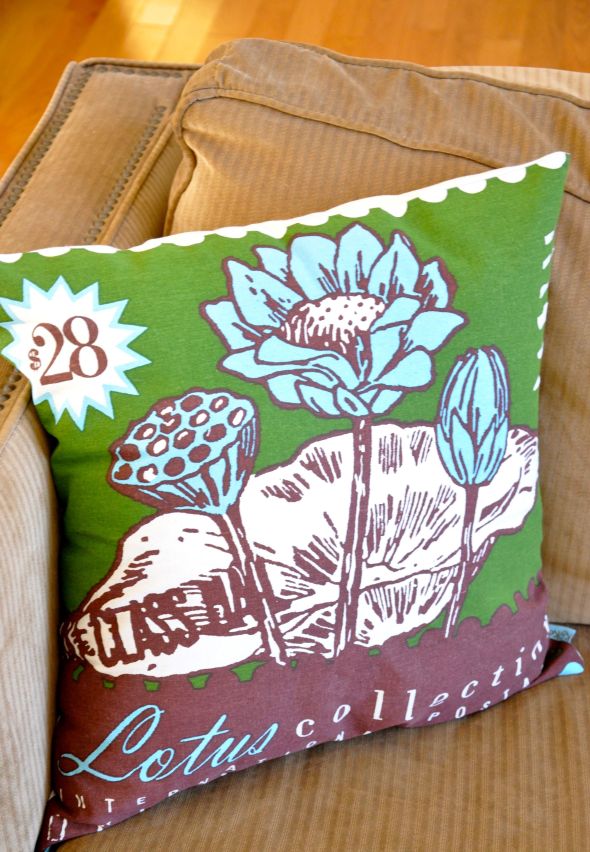
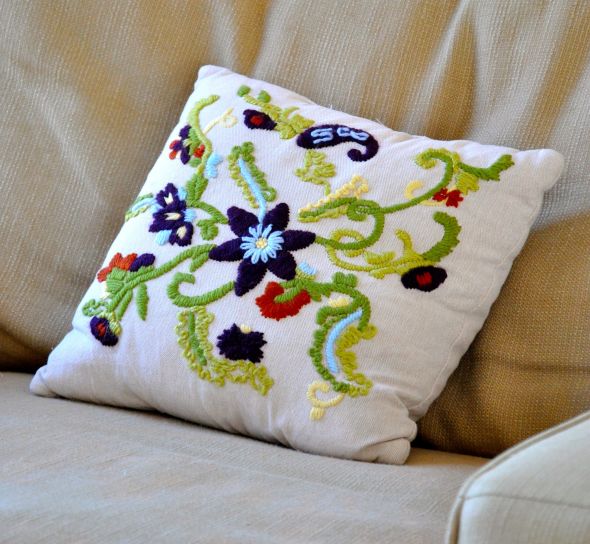
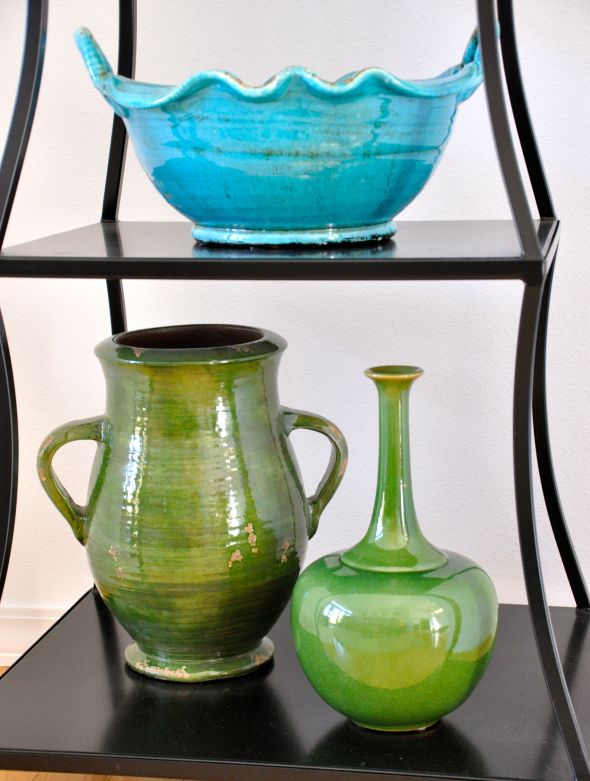
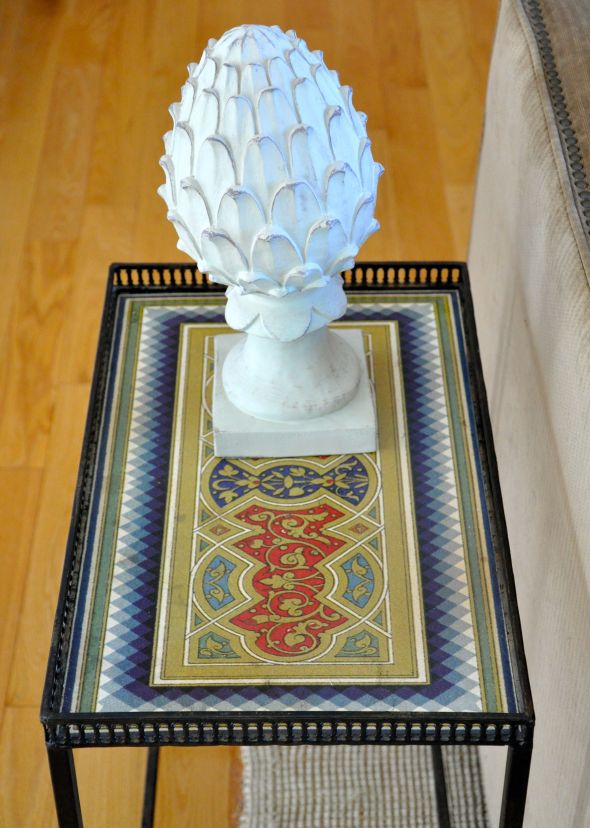
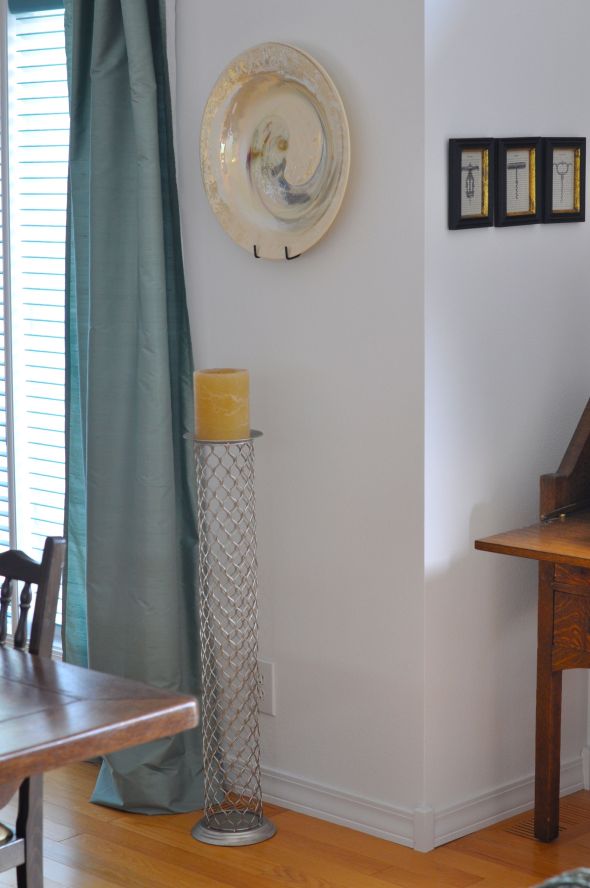
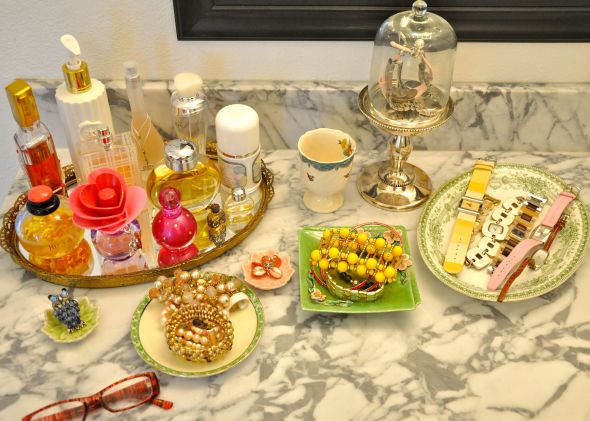
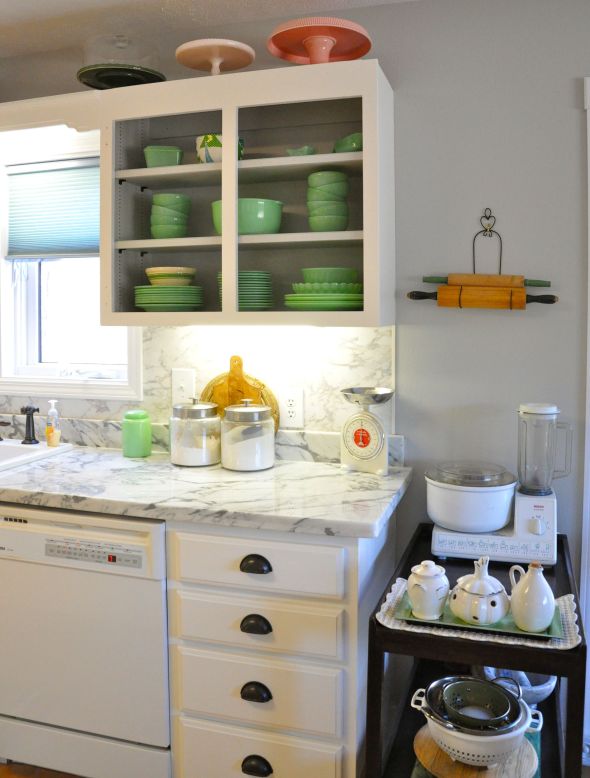
Den makeover.
Posted: March 10, 2012 Filed under: Uncategorized | Tags: den, makeover, new sofa, room decor, white upholstery Leave a commentI recently finished a quick makeover of our den.
Really, all I did was buy some new furniture on deep discount at a going-out-of-business sale.
Click here to see the before.
And here to see the after.
Presto-chango!
If only all my re-dos were this easy.
Easy Asian supper.
Posted: February 25, 2012 Filed under: Uncategorized | Tags: asian supper, blind baking, brown butter peach pie, faded roses, giraffe print, pastry recipe, peach pie, pretty table 1 CommentThis week’s Sunday Supper was so easy, it didn’t feel like one of my typical Sunday meals. I didn’t spend all day in the kitchen, I barely got a speck of flour on my apron, and I had plenty of time to relax on my favorite day of the week.
You’d never know it by looking at my table, though. It was layered and lovely, just like I like it.
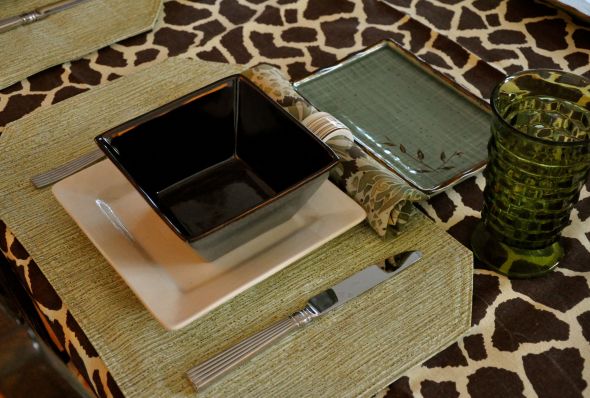 I selected some of my favorite Asian-inspired pieces, and paired them with a brown, giraffe-print tablecloth. The Asian-African marriage might have been a bit unorthodox, but I liked it.
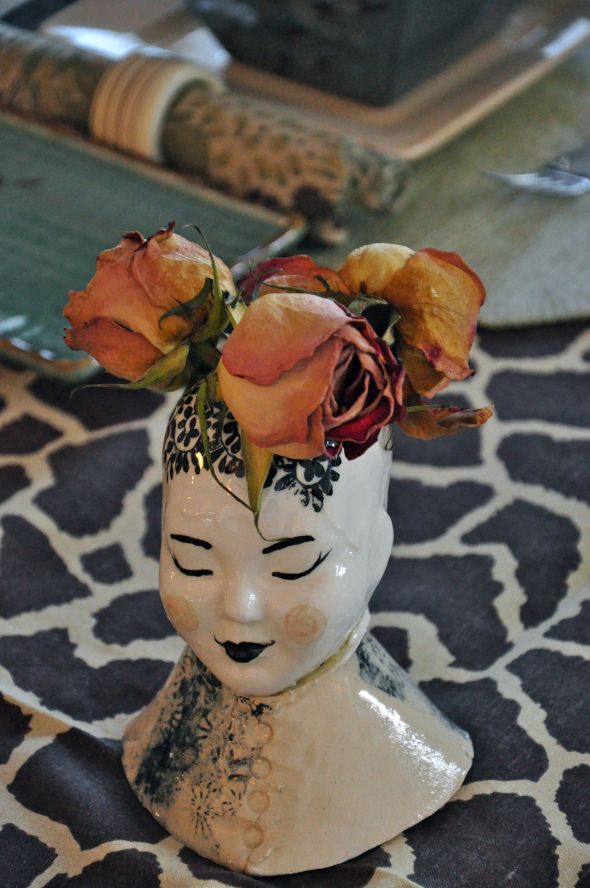
I especially liked the centerpiece — three faded roses in one of my favorite vases.
The roses were leftover from my cake topper the week before. They had seen better days, but there was something about their ruffled edges and faded color that I found too beautiful to throw out.
My menu was straight from one of my favorite cooks — Rebecca of Foodie with Family. Her Slow-Cooker Honey Sesame Chicken is the perfect balance of easy and yummy. As Rebecca recommended, I paired it with steamed rice. But I went one step farther: I topped it with her Spicy Asian Broccoli.
It was the best Asian meal I’d ever experienced that didn’t involve stir-frying. I had no idea I could be this satisfied by Asian food without using a wok.
I only made two alterations to Rebecca’s recipe. I topped my dish with an extra sprinkle of sesame seeds and added chopped peanuts. And, instead of taking the time for the sauce to thicken in the Crock-Pot, I poured it in a saucepan on the stove top, added a cornstarch/water mixture, and gave it a good boil. Rebecca has five sons, so she must have the patience of Job. Me? I’m so impatient I rush my slow cooker.
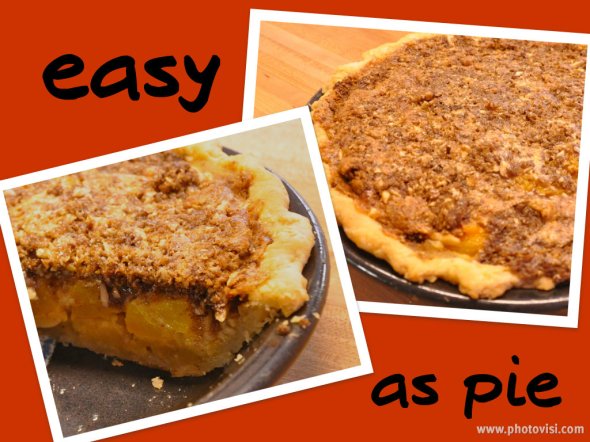
My desert this week wasn’t cake, shock of shocks. I picked up a new dessert magazine at the grocery store and was itching to make a Brown Butter Peach Pie.
If there’s anything in this world that makes a dessert more luscious than brown butter, I don’t know what it is. I make a Brown Butter Pumpkin Spice Cake that causes me to melt with contentment. When I saw that some clever cook had thought of adding brown butter to a peach pie — well, I just had to get right on it.
You’ll want to make this, too. Right away.
Brown Butter Peach Pie
(From “Our Best Desserts” by Better Homes & Gardens)
1 recipe Pastry for a single crust pie (at bottom)
For the crumble topping:
1/3 cup flour
1/3 cup rolled oats
1/4 cup sliced almonds
1/4 cup butter
2 TBLS sugar
2 TBLS packed brown sugar
1.5 tsp cinnamon
3/4 tsp nutmeg
1/4 tsp salt
For the brown butter sauce:
3/4 cup butter
3 eggs
1 cup sugar
1/3 cup flour
2 tsp vanilla
1/4 tsp salt
For the filling:
2 cups peeled and sliced peaches (2 medium)
1/2 cup sliced almonds
1 tsp finely shredded lemon peel
1/4 tsp ground nutmeg
Preheat oven to 450 degrees F. Prepare pastry for single crust pie.
On a lightly floured surface, use your hands to slightly flatten dough. Roll dough from center to edge into a 12″ circle. Wrap pastry circle around rolling pin; unroll into a 9″ pie plate. Ease pastry into pie plate without stretching it. Trim pastry to 1/2 inch beyond edge of pie plate. Fold under extra pastry. Crimp edge as desired. Prick bottom and side of pastry with a fork. Line pastry with a double thickness of foil and add pie weights or a cup of beans. Bake for 8 minutes. Remove weights/beans and foil and bake for 5-6 minutes more or until pastry is lightly golden. Cool on a wire rack. Reduce oven to 350 degrees.
To make crumble topping: In a food processor, combine flour, oats, almonds, butter, sugar, brown sugar, cinnamon, nutmeg and salt. Cover and process until mixture resembles course crumbs. Set topping aside.
To make brown butter filling: In small saucepan, heat the butter over medium-low heat until melted. Continue heating, swirling pan occasionally, until butter turns a light golden brown. Remove from heat and let cool slightly. In a medium bowl, whisk together eggs, sugar, flour, vanilla and salt. Whisk in butter and set aside.
To make peach filling: In a large bowl, toss together peaches, almonds, lemon peel and nutmeg.
Transfer peach filling to cooled pastry shell. Pour brown butter mixture over peach mixture. Top with crumble mixture, a spoonful at a time, spreading evenly. To prevent overbrowning, cover edge of pie with foil.
Place pie on a baking sheet. Bake for 50 minutes or until filling is set and golden. Cool on a wire rack. Store covered, on the counter top for 48 hours or in the fridge for several days. Makes 8 servings.
For my favorite pastry recipe, click here. I found this in Better Homes & Gardens Magazine a couple of years ago, and have used it ever since.
Preparation and tasting notes: This pie is absolutely delicious, especially served warm with vanilla ice cream. Kate thought this pie tasted like cobbler, which she loves. I thought it was reminiscent of pecan pie because of the brown butter sauce.
By the way, I couldn’t find fresh peaches this time of year, so I used two cans of sliced peaches in light syrup (drained first).
I don’t know about you, but I have trouble getting my pastry to keep its fluted edge during the blind baking process. The foil and the weights keep the crust from shrinking or puffing with air bubbles, but they also put a little too much pressure on my delicate flutes. I know some people use parchment paper instead of foil during the blind baking process, so I’ll try that next time. By the way, if you use beans as weights, don’t try to reuse them in a recipe. Put them in a bag or jar and label them as “Pie Weights.”
Dream date.
Posted: February 15, 2012 Filed under: Uncategorized | Tags: apple cake with tart apple and jarlsberg cheese, celebration, cupcakes, gifts for loved ones, holiday dinner, Valentine's Day Leave a commentI don’t know about yours, but my 2012 Valentine’s Day was a dream date for four.
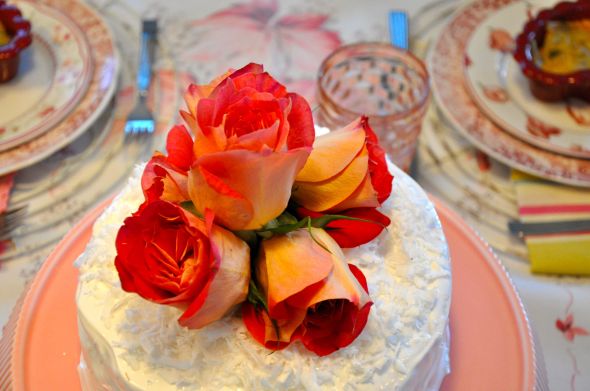
There was beef, and incredible potatoes, and a dream-cake for sure — along with candles and flowers and gifts and cards and everything a mother could think of to make her peeps feel special on Cupid’s special day.
Take a peek:
When I get a chance, I’m going to devote an entire post to that cake, that dream-of-a-dessert I’ve spent a long time perfecting. But today’s post is not about cake. It’s about potatoes. Potatoes that make you think you’ve died and gone to heaven.
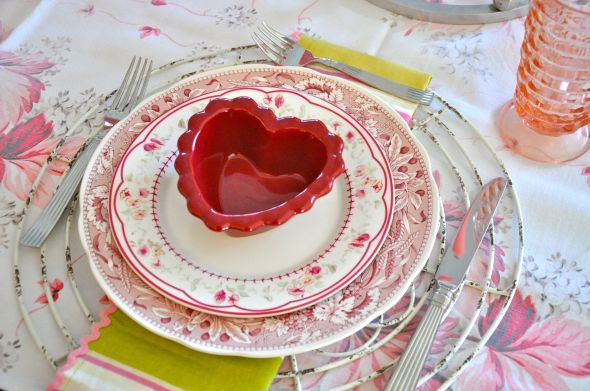
But first, take a look at my Valentine’s Day table setting. I’m not always perfectly pleased with my tablescapes, but this one hit a home run.
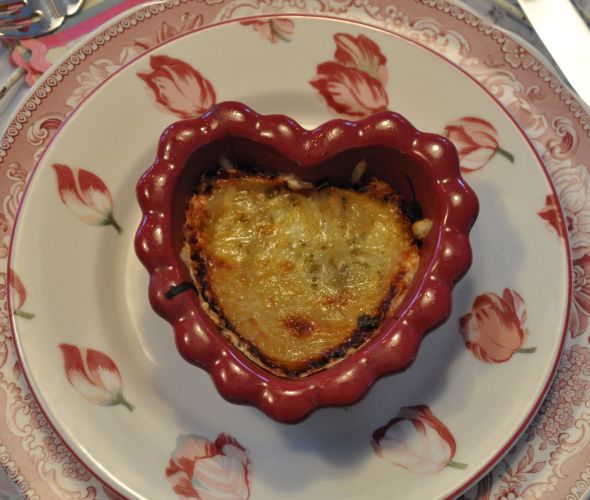
Simple, but sweet . . . just the way I like my Valentine’s Day. See the heart-shaped ramekin above? Those are new. I purchased them at Home Goods in December in anticipation of this meal. The best part, though, is not the ramekin, but the filling.
Is that not the yummiest looking thing you’ve ever seen?
It’s called “Potato Cake with Tart Apple and Jarlsberg Cheese.” I served it for our Valentine’s Supper along with a classic roast beef (with mushroom gravy) and a simple green salad. It was a traditional but delicious meal to celebrate my love for my four favorite people.
So let’s dig in, shall we?
Potato Cake with Tart Apple and Jarlsberg Cheese
(from Country Living)
- 1/4 cup olive oil
- 8 medium (about 3 pounds) potatoes, peeled and thinly sliced
- 2 medium Granny Smith apples, cored, quartered, and thinly sliced
- 1 medium onion, thinly sliced
- 1/2 cup chopped fresh parsley, plus more for garnish
- 1 1/4 tsp salt
- 1/2 tsp freshly ground pepper
- 1 cup finely grated Jarlsberg cheese
- Butter, for greasing foil
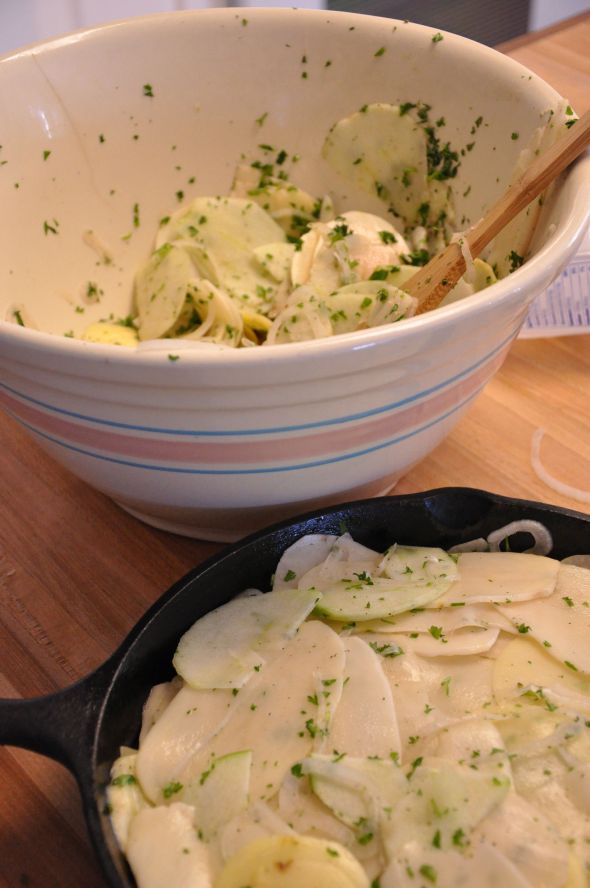
And I’ll go ahead and mention that I’m a bit OCD, so while “tossing” the ingredients, many of my paper thin slices folded and rolled. So I took a little extra care spreading the layers because — I’ll admit it — I wanted my dish to look pretty and organized.
I also have to admit that I developed some serious doubts about this recipe the first time I prepared it. I worried it was too much work and it wouldn’t pay off. I worried that so few ingredients couldn’t create much flavor. I worried that lacking butter and cream, the recipe couldn’t possibly be any good. Finally, I worried there was too much liquid in the bottom of the bowl and would probably create a soggy mess in the skillet.
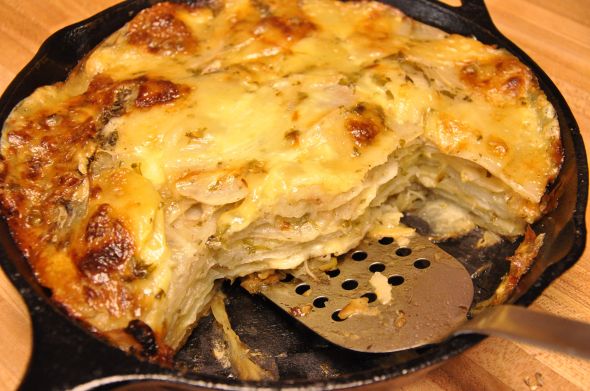
Oh me of little faith! I barely have words to describe how good this dish is. Who knew such simple ingredients could meld into such a complex layering of flavor? It’s the perfect balance of sweet (from the onions) and tart (from the apples) and cream (from the cheese). The paper thin layers, soft in the center and crispy on top, create a texture that is comfort food at its best. And this dish is so satisfying on the tongue, you’d swear it’s chock full of butter. Best of all, it works as both an entree and a side.
But word to the wise — don’t substitute the cheese. Don’t make this dish until you can lay your hands on Jarlsberg. I made it once with Swiss (considered by many to be an acceptable substitute), and it wasn’t the same.
Obviously, you can bake this in a skillet or individual ramekins. The ramekins were kind of a pain in the butt (and small), but they sure made for a pretty and thoughtful table. My son, Parker, ate the contents of his ramekin in about two bites, then went back to the kitchen for a hearty second serving from the skillet. Mr. Mom ate his ramekin and two more servings from the skillet. Still, we had leftovers and they were wonderful reheated in the microwave the next day.
By the way, here’s a photo of my daughter holding one of the Valentine’s gifts I gave her:
 It’s worth saying that I also love Potato Cake with Tart Apple and Jarlsberg Cheese more than cupcakes.
You will too. I promise.
One part easy. Three parts hard.
Posted: January 30, 2012 Filed under: Uncategorized | Tags: avocado, caramel cake, mexican casserole, pink dishes, spring tablescape, sunday supper Leave a commentI spent most of Sunday in the kitchen, whizzing through dinner and laboring over dessert.
Good thing I started early and had plenty of time to spare. And good thing I had two extra pairs of hands. Without Kate’s help cleaning and Mr. Mom’s help wrangling homemade caramel, I might have thrown in the dishtowel.
The recipes were straight off the internet. And isn’t that the very best part of modern-day cooking — access to millions of wonderful dishes right at your fingertips? Thanks to Tasty Kitchen and Add a Pinch (via Pinterest), I found an easy-but-savory Mexican entrée and a luscious caramel cake in a quick menu search.
Sunday Supper Menu
Enchilada Casserole
Avocado Salad with Lemon Vinaigrette
Southern Caramel Cake
Since the entrée and the dessert are straight off other websites, I won’t bother retyping them here. Simply click here for the Enchilada Casserole and here for the Southern Caramel Cake.
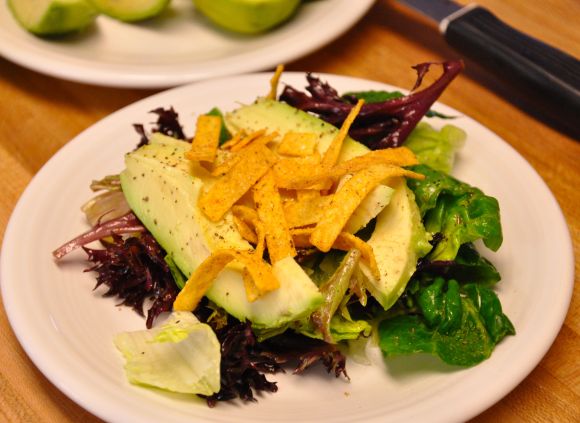
The salad was my own concoction. I tossed a green salad with a bit of lemon juice and olive oil, and topped it with sliced avocados and tortilla strips. It was a perfect light-touch side dish for a hearty casserole.
My tablescape this week was soft and pretty, with a touch of longed-for spring. It was sunny and almost 50 degrees in our part of the world today, so I dug deep in my dish pantry to bring a burst of color to my table. See what you think:
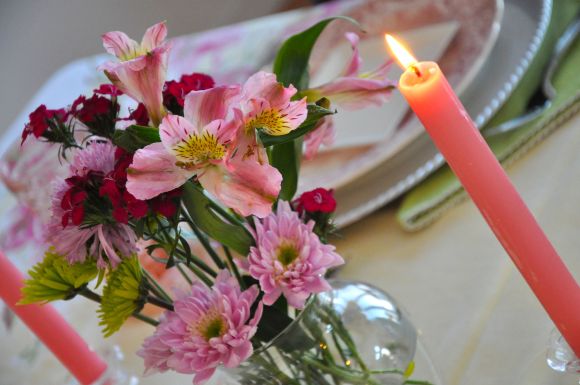 It’s amazing how a little sunshine and a pretty table can brighten a winter’s meal.
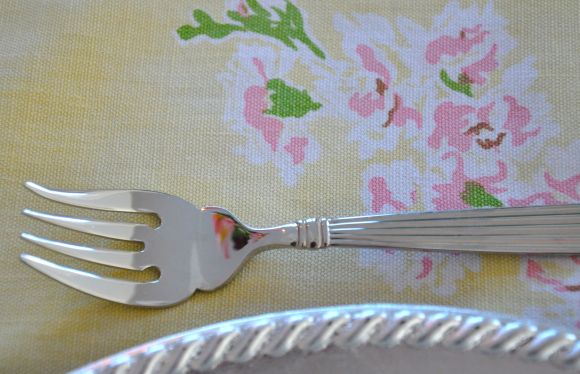
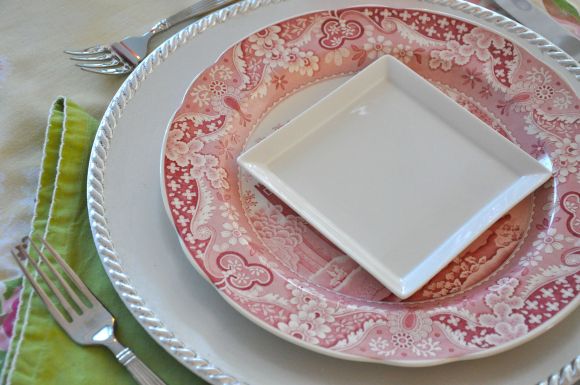 My favorite part of this table is the vintage tablecloth. I’ve collected them for years and — though most of mine are faded and almost threadbare in spots — I continue to use them frequently. The one I chose for this week is sweetly patterned in shades of yellow, pink and green.
 My Southern Caramel Cake was the perfect accompaniment for such a sweet table. I had never made caramel before, nor had I ever used caramel as icing. Let’s just say both take patience.
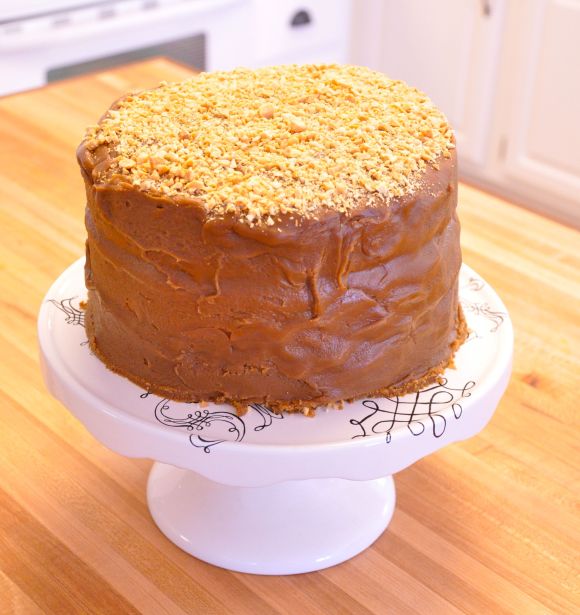 Making caramel — getting the butter and milk and sugar mixture to the softball stage — takes more than a half hour of constant stirring and watching the pot. Then cooling the caramel by beating it to a stiff texture takes nearly another half hour. Finally, spreading the stiff caramel — which molds better than it spreads — required my last vestiges of patience. In all, I probably had three hours invested in this cake, and it wasn’t even all that beautiful as cakes go.
But as cakes taste . . . this one is great. The cake is tender and moist and the icing is sweet and caramely.
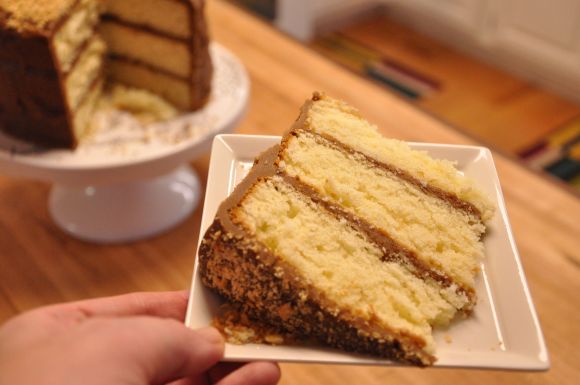 If I had it to do over again, I would have cut two of my cakes in half-layers and frozen the third cake for another use on another day. I think four thin layers alternated with the sweet caramel icing would give the cake a little more punch than three thick layers. And I would have put layers of chopped peanuts on each icing layer, not just on top, to give it even more texture and interest.
By the way, my salad was wonderful. Take a look:
 And the casserole was tasty and filling.
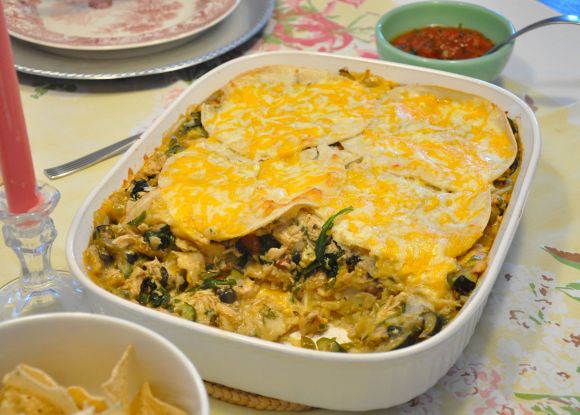 Chock full of veggies and light on cheese and sauce, it was a healthy alternative to heavy enchiladas.
Hope you had a lovely Sunday Supper, dear readers, that was all parts easy and tasty.
Bake twice, eat once.
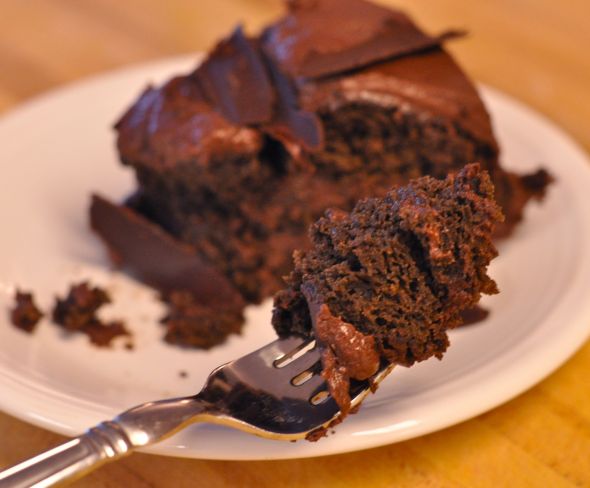
Posted: January 2, 2012 Filed under: Uncategorized | Tags: cake leveler, cake slicer, chocolate cake, chocolate mousse, fancy cake, helpful cake baking tips, luscious, making chocolate shards, showstopper, special ocassion 1 CommentI spent much of the last day of my holiday break baking a cake that was so good, I made it twice.
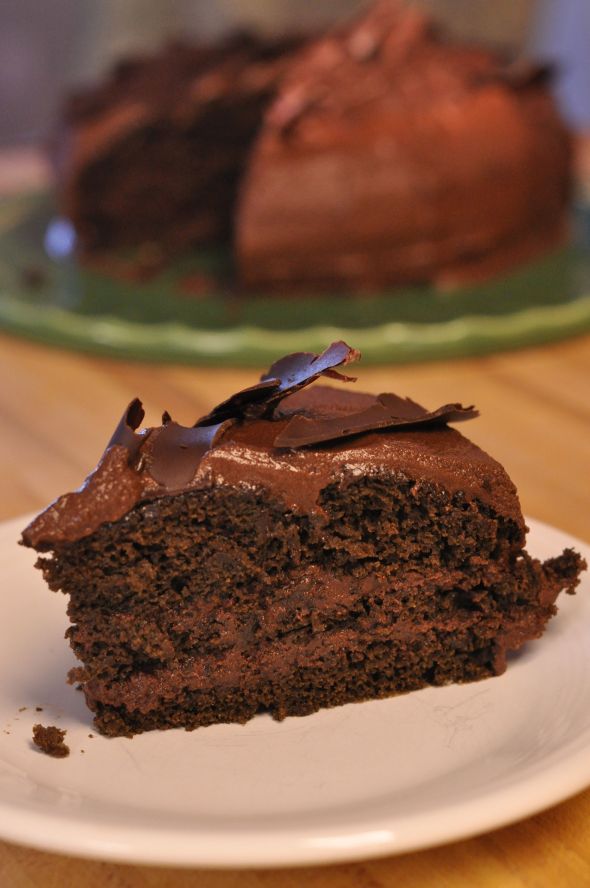
Actually, my first try was a FAIL. And determined, to triumph, I baked it a second time. Turns out, it was so good, it was worth baking twice. It’s not only a showstopper on your table . . .
It’s a miracle in your mouth.
All you need is a little patience and you can make this cake in only one try — unlike your fearless blogger friend. The cake is a tad finicky, I’ll admit. But now that I’ve conquered it, I’ll arm you with the tips you need to succeed. Plus, I won’t omit an item from the ingredient list (like the gosh darn cookbook did), causing you all kinds of havoc.
So there’s my pledge. Now tie on your apron and get to baking! Really. Somebody in your life needs this cake in 2012.
Luscious Chocolate Mousse Layer Cake
(from Fine Cooking’s Sweet Cakes)
For the chocolate cake:
Vegetable oil or pan spray for the pan
Flour for the pans
6 oz. (1-1/2 cups) cake flour
1 oz. (6 TBLS) unsweetened natural cocoa powder
2 tsp baking powder
1/4 tsp baking soda
1/4 tsp table salt
1 cup granulated sugar
1/4 cup vegetable oil
1 large egg
2 tsp pure vanilla extract
1 cup water
HELLO! That cup of water? It’s very important. My cookbook omitted it and I managed to skip over it when reading the directions. So when I went back through the ingredient list to make sure I had added everything (which I always do), I didn’t catch the water since it wasn’t listed. Come on cookbook editors! These kinds of errors drive home cooks batty. The omission of that simple cup of water turned the cake into a brick. A brick that hit my trash can with a thud. Fortunately, I’m persistent, caught my mistake through careful reading of the recipe, and tried again immediately.
For the mousse:
2 cups heavy cream
3/4 oz (1/4 cup) unsweetened natural cocoa powder
13 oz bittersweet chocolate, chopped
4 oz (1/2 cup) unsalted butter, at room temperature and cut into small pieces
2 tsp pure vanilla extract or 1 to 2 TBLS brandy or Cointreau (I used Cointreau and loved it!)
Pinch table salt
7 large egg whites, at room temperature
1/2 cup granulated sugar
PS: This recipe makes a TON of mousse. I suggest cutting it in half. I did and still had plenty. If halfing, use only 3 egg whites.
Make the cake:
Position a rack in the center of the oven and heat the oven to 325°F. Lightly grease a 9×2-inch round cake pan, line the bottom with parchment, and flour the sides (but not the bottom). PS: I never use parchment paper. I simply use Pam baking spray and coat well with flour, and my cakes always release perfectly.
Sift the cake flour, cocoa powder, baking powder, baking soda, and salt into a large bowl. Add the sugar and whisk until well blended. Measure the oil into a 1-cup liquid measure, add the egg and vanilla, and mix with a fork to blend. Add the egg-oil mixture to the dry ingredients and then add the water. Whisk until the dry ingredients are just moist, about 1 minute, scraping down the sides of the bowl. Pour the batter into the prepared pan.
Bake until a pick inserted into the center of the cake comes out clean, 32 to 34 minutes. Let cool on a rack for 20 minutes. Lightly grease a wire rack, invert the cake onto it, lift off the pan, peel off the paper, and let the cake cool completely. PS: My cake took a good 10 minutes longer to bake. I suggest setting your timer for 40 minutes, then checking it with a toothpick. Don’t be afraid to leave it in longer if your pick doesn’t come out clean. You’ll be slicing this cake into three layers and you need it be fully baked.
And this part is really important: Don’t be in a hurry. Bake the cake, and don’t rush the cooling. Only when your cake is out of the pan and cooled to room temperature should you begin to make the mousse. Go ahead and set up your mise en place for the mousse if you’re impatient like me. But do not begin making the mousse until your cake is completely cooked and sliced. And for heaven’s sake, don’t be like me and try to cook barbeque ribs in between cake steps. I got distracted and it made the cake so much more difficult. The mousse is finicky and needs your full attention and patience once you begin it. We now return you to your regular programming.
Make the mousse:
Set up an ice bath by partially filling a large bowl with cold water and some ice.
Combine the cream and cocoa in a large saucepan set over medium heat. Bring to a full boil, whisking occasionally to blend in the cocoa. Slide the pan off the heat and immediately add the chopped chocolate and the butter; whisk slowly until melted and smooth.
Scrape the chocolate mixture into a large bowl. Add the vanilla and salt. Set over the ice bath and stir constantly with a rubber spatula, scraping the sides very frequently, until the chocolate cools to room temperature (don’t stop stirring or lumps will form) Remove the bowl from the ice bath. PS: Don’t leave your mousse on the ice bath too long like I did. If need be, stick your finger in it several times to test. As soon as it’s no longer warm, take it off the ice bath. I asked my husband to handle this step for me because I was busy futzing with the ribs, and he left it on the ice bath until it was as stiff as refrigerated butter. The good news is you can put it in a double boiler for about a minute, while whisking constantly, and it will quickly return to the proper consistency. But it’s so much easier if you just pay attention and do it right the first time.
Put the whites in a large clean bowl. Whip with an electric mixer on medium-low speed until very foamy. Increase the speed to medium high and beat until the whites form very loose, soft peaks. Slowly add the sugar. Continue beating until the whites are shiny and form floppy peaks.
Working quickly, scoop about a third of the whites into the cooled chocolate mixture and fold together with a rubber spatula or a whisk until blended. Scrape the remaining whites into the chocolate and fold together gently but thoroughly.
To assemble the cake:
To cut the cake into layers, it helps if the cake is slightly chilled. Cut into three equal layers with a large, serrated knife. Set aside without separating the layers. PS: This takes a steady hand and patience. Or a cake slicer/leveler. I don’t have patience, but I do have a leveler and a husband who’s a good sport, and he always does this step for me. I promise it gets easier with practice. And if you tear the cake, don’t worry. Just piece it back together. You’re going to cover it with mousse and no one will know the difference.
Gently move the top layer of the cake to the center of a flat cake plate. It can be helpful to use a large spatula to help you. Handle the cake carefully and, if it breaks, just piece it together. Scoop about one-third of the mousse onto the cake layer and gently spread to cover. Gently move the next cake layer (the center) on top of the mousse and press gently to level it, if necessary. Scoop half of the remaining mousse over that layer and spread gently. Gently move the final cake layer and set it on top of the mousse. Press gently to level it. Spread on the remaining mousse and smooth the top and sides with extra mousse if necessary.
Decorate with chocolate shards. If you’ve never made shards, here’s a two-minute video that explains how easy it is.
I realize how long this recipe is. It really is worth it, though, and once you’ve made this cake the first time, you’ll realize how manageable it is with a few helpful hints. Just read the recipe carefully, muster your patience to take it slow and easy, and prepare to enjoy a truly luscious chocolate cake.
A holiday food antidote.
Posted: December 27, 2011 Filed under: Uncategorized | Tags: chickpeas, feta, holiday excess, meatless dish, mint, olives, salad 3 CommentsI don’t know about you, but this time of year I get to hankering for something to eat that’s not turkey, ham, or filled with cream cheese and/or sugar. I love me some holiday food, but by December 27, I’m craving salad and fish.
So when I won a new cookbook in a Dirty Santa exchange on Christmas evening, I immediately turned to the salad section and found this gem of a side dish — Stewed Chickpea Salad with Feta, Olives and Mint.
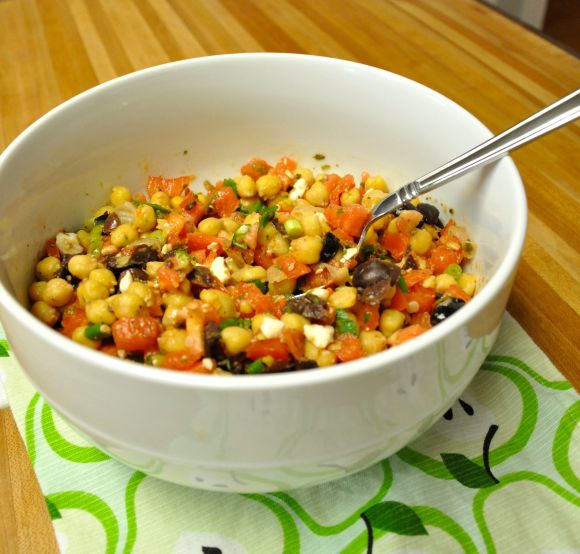 I love any dish with chickpeas and feta, so this recipe was right up my alley. Better yet, once you boil the chickpeas, it only takes about 15 minutes to prepare. Talk about a quick dinner!
My family enjoyed this dish with grilled, sliced chicken breast (which was leftover from a previous meal) and toasted Ciabatta bread.
This dish is hearty with complex Mediterranean flavors. (The mint, feta and cumin work especially well together.) It will work as a meatless meal, or as a wonderful side dish for simply prepared fish or chicken.
Try it today as an antidote to your holiday excess. You’ll be ready for summer soon!
Stewed Chickpea Salad with Feta, Olives and Mint
(from New Classic Family Dinners by Mark Peel)
1/2 pound dried chickpeas, soaked for 6 hours or overnight
1 quart water
3 fat garlic cloves, 2 crushed and 1 minced
2 thyme sprigs
1 bay leaf
2 tsp kosher salt
1/2 cup kalamata olives, pitted and chopped
2 large tomatoes, seeded and chopped
1 bunch scallions, thinly sliced
1 TBLS diced mint leaves
1 ounce feta, crumbled
1/2 tsp cumin powder
1/2 tsp cracked black pepper
1 tsp dried oregano
1/4 cup extra virgin olive oil
1 TBLS plus 1 tsp red wine vinegar
Drain the chickpeas after soaking and place in a large saucepan with the water, 2 crushed garlic cloves, thyme sprigs and bay leaf. Bring to a simmer, cover, and cook gently for 1 1/2 hours, until tender. Remove from heat, uncover, and allow to cool slightly in the cooking liquid. (This step can be done in advance. If so, drain the chickpeas, discarding the garlic, thyme and bay leaf, and store in an airtight container in the frig until needed.)
While cooling, make the vinaigrette by combining the final five ingredients, plus one clove of garlic (diced) and whisking to combine.
Drain the cooked chickpeas discarding the garlic, thyme sprigs and bay leaf. Transfer to a salad bowl. Allow to cool slightly, and while still warm, toss with the olives, tomatoes, scallions, mint, and vinaigrette. Taste and adjust the seasoning, adding a little salt and/or pepper if required. Sprinkle with feta and serve warm.
Serves 4. Will keep well for several days in an airtight container in the frig.
e-sentiment {merry christmas}
Posted: December 11, 2011 Filed under: Uncategorized | Tags: Christmas greetings, e-cards, green, holiday cards, reducing stress Leave a comment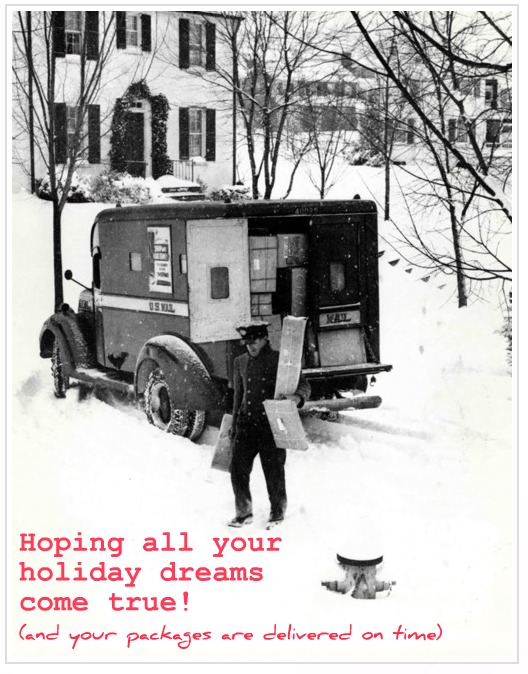 I don’t know about you, but I ditched the Christmas cards a few years ago in favor of a less stressful holiday season. I admire the folks who still devote the time and care (and money) to a decidedly old-fashioned endeavor, but I’ve streamlined my life in order to focus on what really matters.
This year, I tried my hand at an e-sentiment, distributed on Facebook and this blog, and emailed to a few colleagues.
It’s reaching 95% of my peeps with 1% of my former effort (and 0% of the investment).
My niece called me green.
Which is just about the right color for Christmas, don’t you think?
A holiday table for six.
Posted: December 11, 2011 Filed under: Uncategorized | Tags: Christmas, dinner party, fresh greenery, holiday, monogrammed napkins, party, table setting Leave a commentI hosted a small dinner party Saturday night. Nothing big . . . just one couple and my daughter’s friend — an easy table for six.
The menu was tried and true: an antipasta to start (cheese, crackers, venison sausage, and olives), followed by a salad of field greens topped with apple and blue cheese, a piping hot lasagna, and a crusty loaf of bread. To finish, creme brulee.
It was lovely, and easy (okay, time consuming but easy) and served as a welcome reminder of why I love the holidays: good food, good friends, and time spent at home are life’s real gifts.
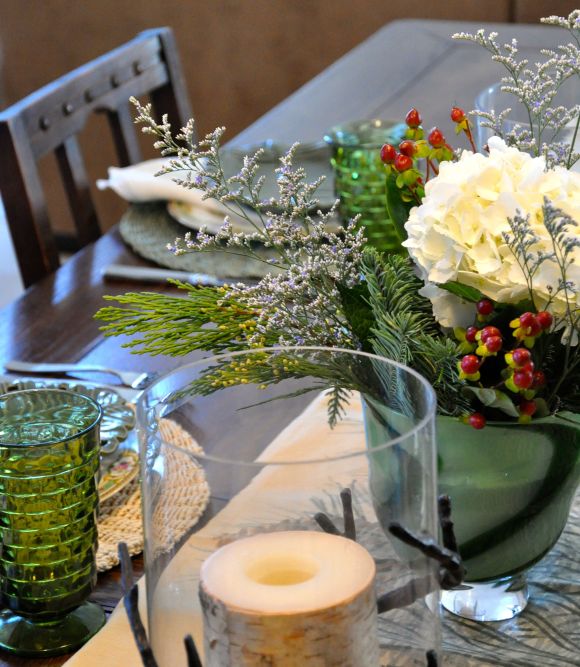
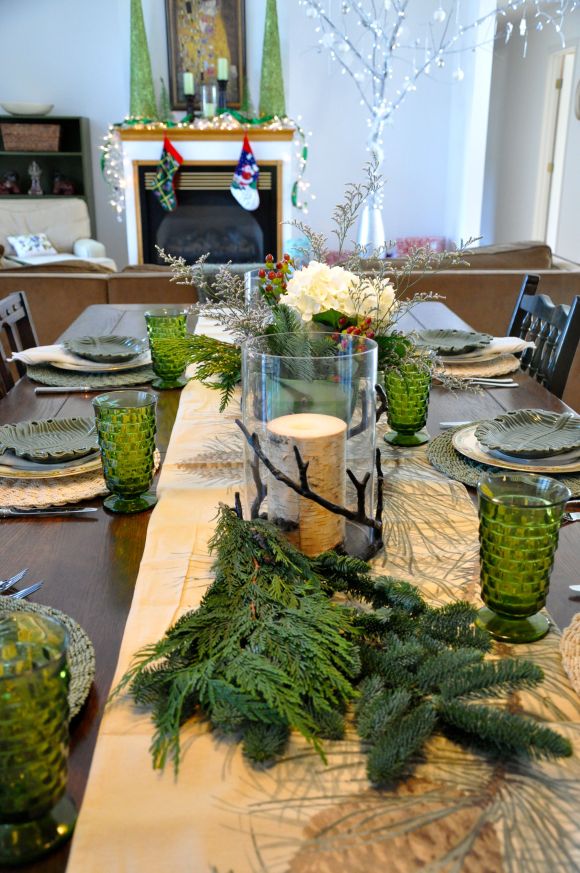
I had the most fun — as I always do — dressing the table. I thought this one turned out beautifully — a nod to the holidays without being overt. See what you think:
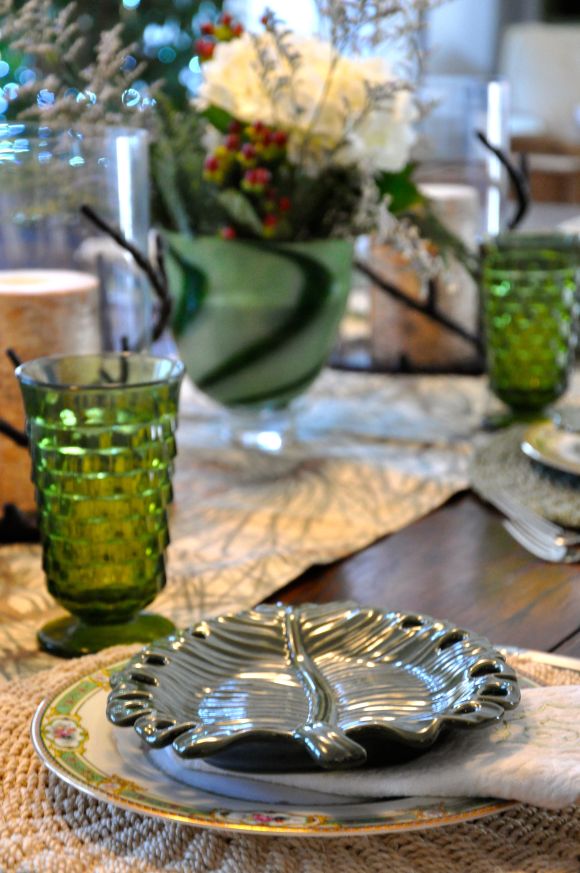 I paired vintage Noritake dinner plates with contemporary Pier One salad plates. I picked up the place mats and the table runner recently at Pottery Barn. The glassware is, of course, vintage, and the vase is blown glass by a local artisan. With candles and flowers and greenery, the table came off prepared without being overdone.
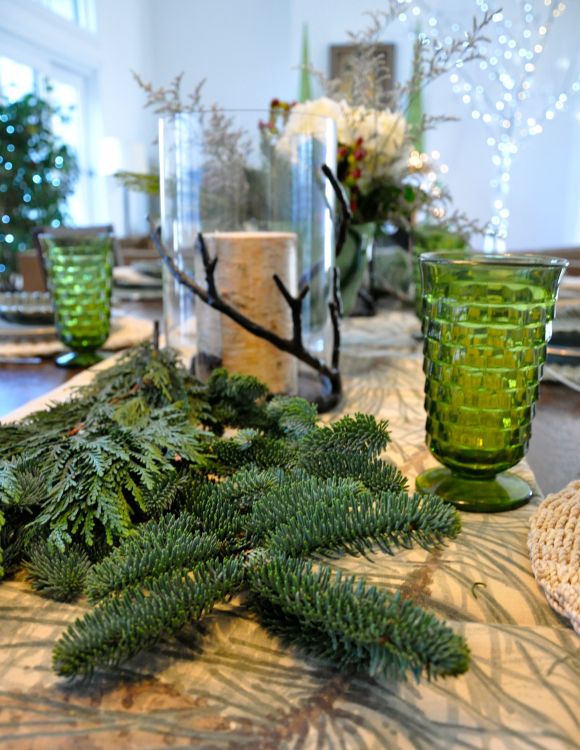 There’s nothing like a little fresh greenery to dress up a table. I used to have a pine tree in the yard of my former home and I was never shy about clipping a few branches to dress my table. But I’m without a convenient source these days — despite our 15 acre homestead — so I had to buy these at the local florist.
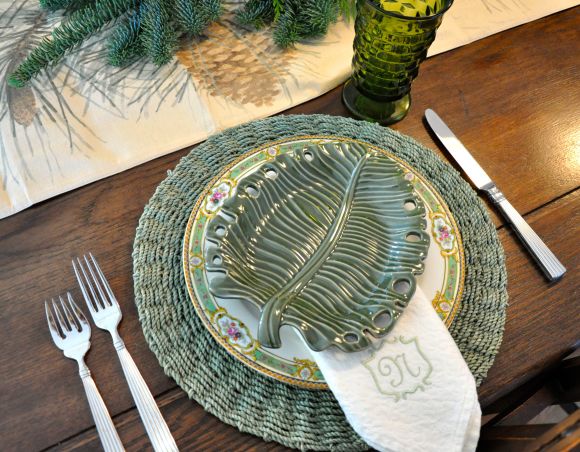 The monogrammed napkins are ones I’ve owned for more than a decade. I highly recommend making the investment. I purchased my napkins on sale at a department store and took them to a local seamstress for monogramming. The versatility of the green and cream motif has served me well over the years.
 I’m hosting a holiday open house next weekend for my office and I liked this table so much I may just repeat it for my food buffet. It will eliminate a little bit of thinking during a lot of cooking and preparation, and come to mention it — that’s a holiday gift too!


